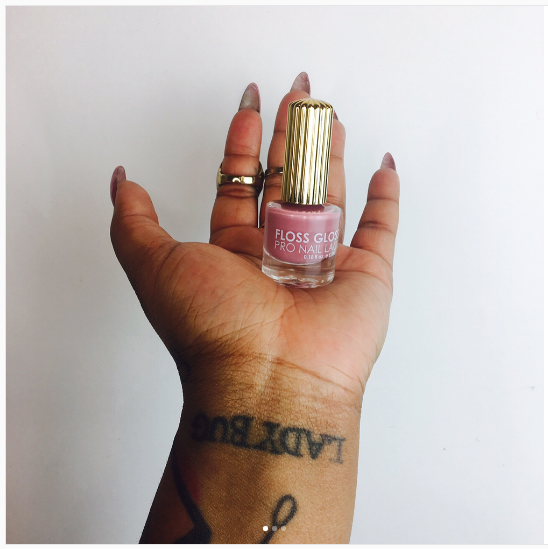
This Summer, let your nails do the talking with this DIY that anyone can do! Seriously!
Step 2: Remove your fingers from the oil and treat your hands to a massage using the oil left on your finger-tips. When you are ready, thoroughly wash your hands to remove the all traces of the oil from your nails.
Step 3: Gently push back your cuticles to clean the nail. Carefully remove any excess cuticle with a trimmer. It will ensure that the nail polish application is much smoother.
Step 4. Apply your favorite base coat to prep the nails. It's all about getting your nails ready for polish and preventing a lumpy finish.
Step 5: Time to have fun and be creative. By cutting small shapes from a gentle peeling tape, you will be able to get clean lines for this look. I used some painter’s tape that I had at home and a cuticle scissor. Feel free you use what you have to make your own designs. Then arrange the tape on your nails to your liking.
Step 6: Pick your nail colors! Ok you really could've done this at any point LOL. I wanted my nails to be nude with just a touch of glam! I used a peachy pink polish and silver glitter. Play with your favorite colors to make this design match your aesthetic.
Step 7: Time to paint! I chose to do accent nails that were half glitter and half pink. I also wanted to have a negative space effect on the nail between the colors. Negative space means you will be able to see the actual nail between the two shades.
Step 8: Slowly peel off the tape to reveal a beautiful design! Apply your favorite fast drying top coat to make sure these adorable nails last!
FIN. I loved creating this alternating patterned nail design. I used a subtle, nude color and paired it with glitter to make them pop! I wore it to a friend’s wedding and everyone loved it. You can mix and match any colors you want to go with your outfit or just to bring some creativity into your routine.
What is your favorite nail polish formula?
WHICH NAIL POLISH SHOULD I BE WEARING ACCORDING TO MY ZODIAC ?


